
Beanz and meta upgrades
Beanz are the currency that survives the run. You earn them while playing, spend them in the Upgrades menu between runs, and they are the reason Protocol V is beatable at all — the developer's own position is that Protocol V should be impossible without meta upgrades.
Eighteen permanent upgrades exist. Most of them do not work the way people assume.
Where Beanz come from
| Source | Notes |
|---|---|
| Opening a Safe Folder | Every Safe Folder pays Beanz; higher protocols pay more per folder |
| Killing enemies | Flat Beanz rewards regardless of protocol |
| Higher protocols | Multiplies both of the above |
That first row is the strategic hook. The dev has been explicit that higher protocols reward more Beanz per Safe Folder, which means pushing difficulty is an investment rather than just a bragging right. Two runs at the same skill level on Protocol I and Protocol III do not pay the same, and the difference compounds across every run you play afterwards.
Coins do not carry over. Beanz do. Spending a run's coin economy on nothing because you were saving for a big minute-thirty purchase is a common and completely wasted pattern.
The multiplier rule
This is the most important sentence about progression in the whole game:
Upgrading your stats in the Upgrades menu will (for most of them) multiply the whole stat and any upgrades made during a run.
Read it as an order of operations problem. A meta upgrade is not added to your run-time stats, it multiplies them — so the value of the same Beanz purchase depends entirely on how much of that stat you would otherwise have.
- 1% of Weapon Power on a run where you bought Power every level is worth far more than the same 1% on a run where you never bought it.
- A meta upgrade bought for a stat you routinely max out in-run compounds twice: once on the base, once on the in-run upgrades.
- A meta upgrade bought for a stat you never take in-run multiplies near-zero.
The developer's own framing is that "an additional 1% might not sound like much, but it all adds up." The reason it adds up is the multiplication, not the percentage.
Ranks, not levels
Demo 1.1 renamed meta upgrades from "Levels" to Ranks, specifically to stop them being confused with player levels. If you read older guides talking about meta "levels", they mean the same thing as ranks in the current build — and the rename is a decent signal that the dev is watching the UI for clarity problems.
What to buy, roughly in order
- The stat you already buy in run. If your runs are built on Weapon Power, meta Power is the highest-value Beanz you will ever spend.
- A survival stat. Armor reduces incoming damage, and the difference between dying at minute twenty and minute thirty-five is usually survivability rather than damage.
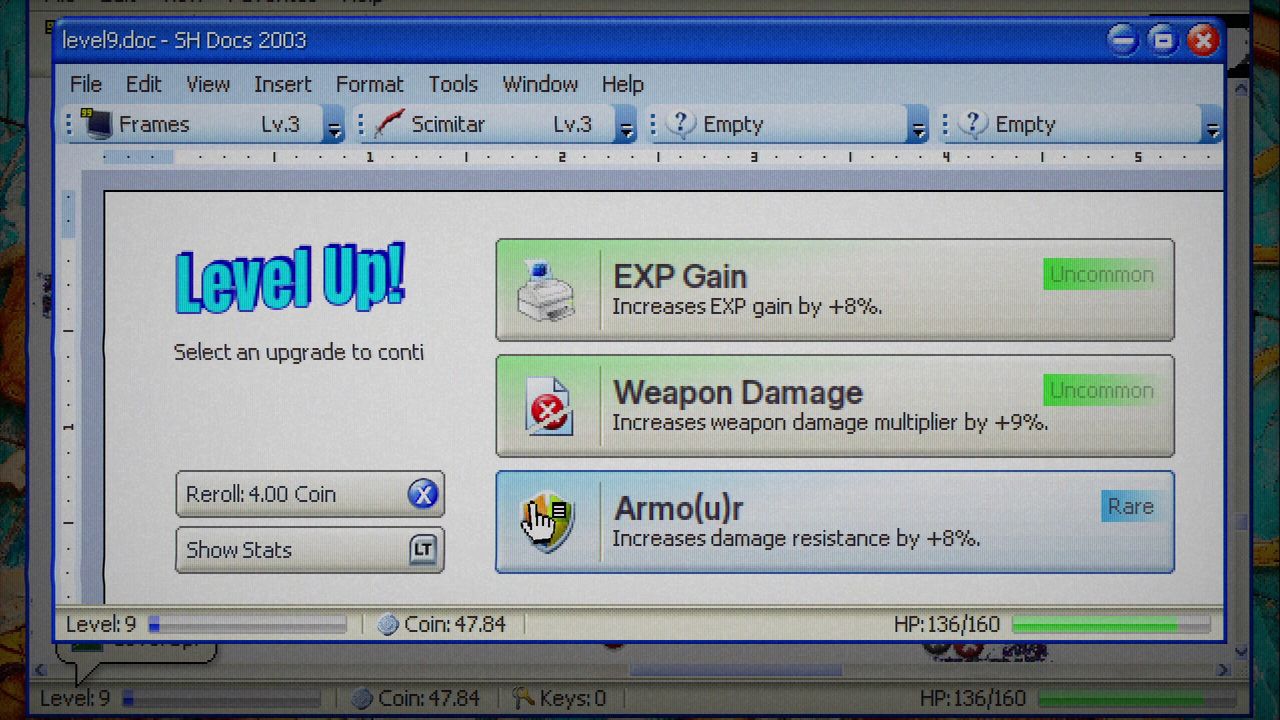
- EXP Gain, if you consistently fall behind the curve. Levels are power here more than in most survivors-likes, because every level is a stat and a potential plugin.
- Luck, only if you open volume. Luck affects the success rate of zip and RAM files. If your runs avoid those, skip it.
- Everything else once the multiplier stack is built. With the core four compounding, the tail of the list is worth more than it looks.
When to move up a protocol
The rule of thumb that matches how the game is designed: clear the current protocol comfortably, then jump up one. Comfortably means finishing with time to spare and without a last-second save, not scraping through.
The official difficulty curve changed under players' feet once already. At demo launch the dev admitted that what used to be Protocol I ended up sitting at roughly the difficulty of Protocols II and III in the shipping demo build, and added two easier tiers above it. If a protocol feels much harder than the number suggests, that is consistent with how the ladder has been retuned before.
Two things worth doing before you attempt Protocol IV seriously:
- Finish the status effect bookkeeping in your build. Stacking is the main damage scalar and the meta Power multiplier is what makes it worth pushing.
- Bank Beanz on a protocol you can clear reliably rather than throwing yourself at the wall. Beanz payouts scale with protocol, but zero Beanz from a failed run scales with nothing.
The temptation with meta progression is to treat it as content to complete. It is closer to a compounding rate: the earlier the multiplier exists, the more runs it improves, which is why buying early and buying narrow beats saving Beanz for a big late purchase.